CIRQUETRIUM
Motor, Shaft, Battery, and a Pen
Fall 2022
Course: Fabrication
Instructor: Ben Light
Introduction
For this project, students were tasked with creating something involving a motor.
My original plan was to construct a spinning top that rotates at a constant, slow speed by connecting it to the motor. I purchased three items from Amazon, but none of them were as expected. By the time the packages arrived, it was too late to buy new ones. This led to a fortunate accident:
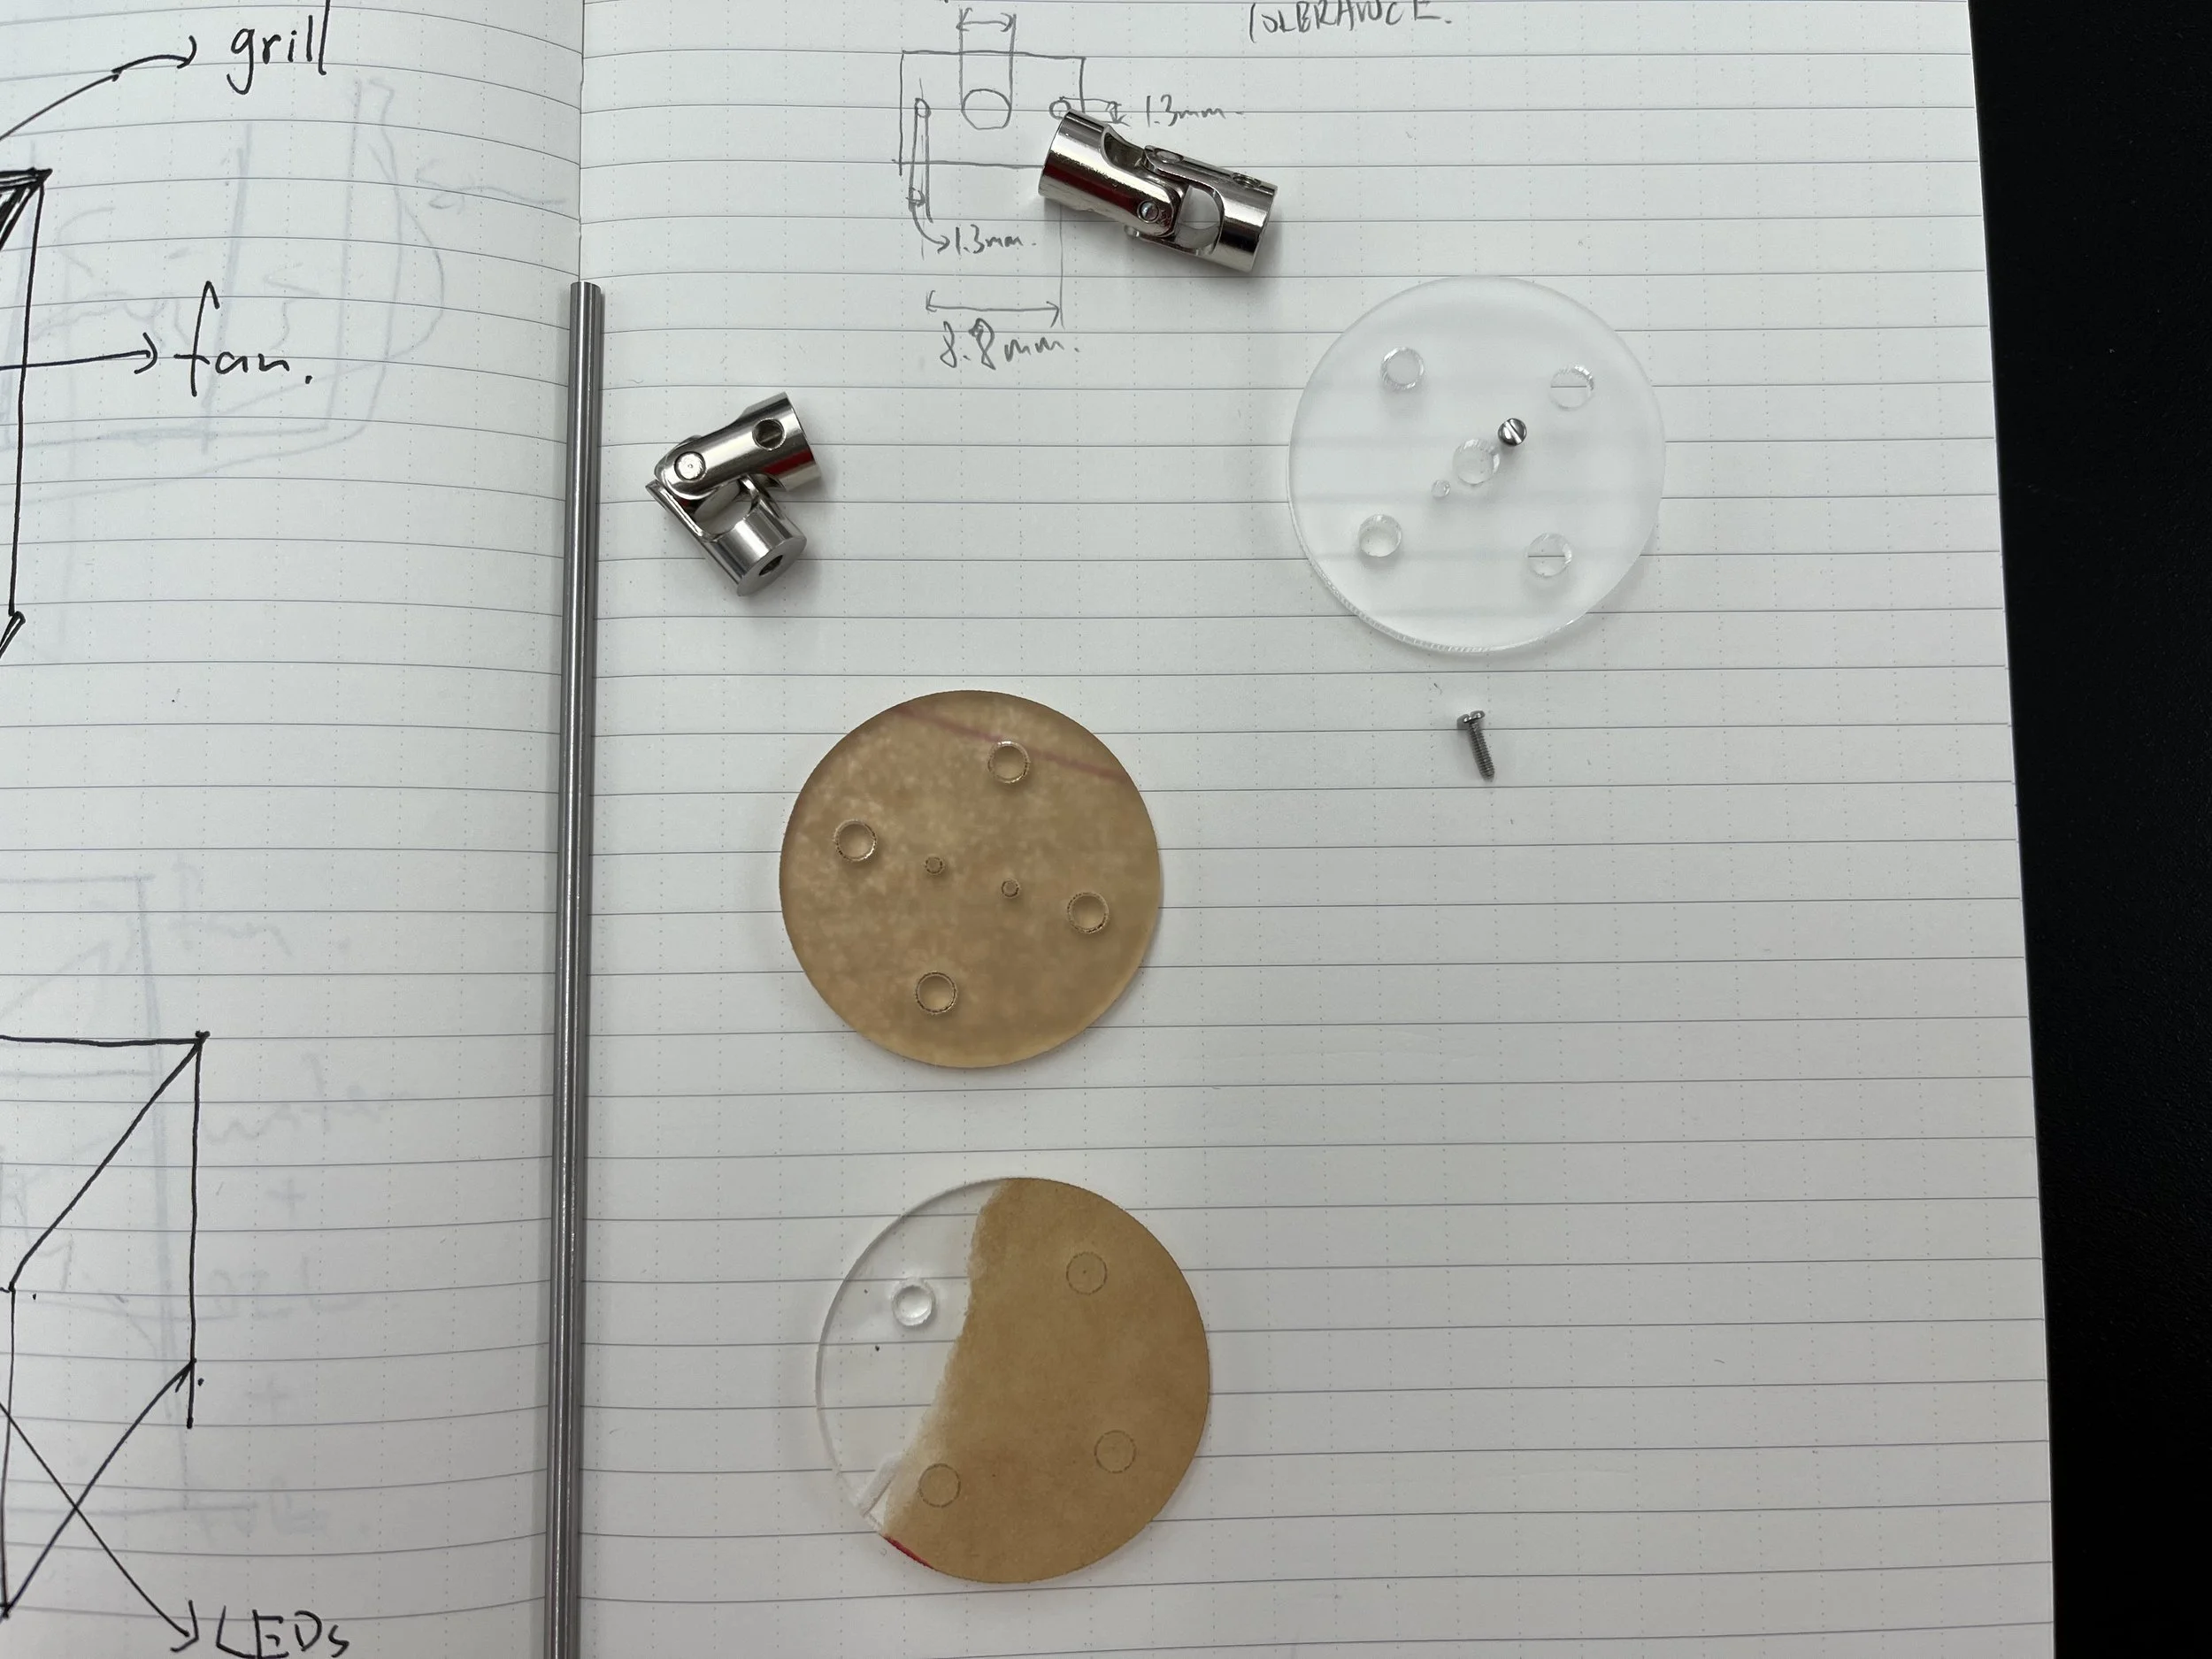
The items I bought were a speed reduction DC motor, shaft couplers, and two round steel rods intended for connecting the spinning top. First, the motor – my mistake, I overlooked the word "mini" in the product description. It's a tiny motor with a gearbox, operating at 50 RPM. Second, the shaft couplers – the ones I bought were joint shaft couplers, allowing relatively free rotation. My initial idea was to rotate the spinning top 45 degrees to create an unusual visual effect. Consequently, I chose the joint couplers, thinking they were lockable to certain degrees, but I was mistaken. Third, the metal rods – the ones I received were not what I ordered and were too long. Unfortunately, none of the three items met my expectations, so I had to rethink my approach with the available materials.
Implementation
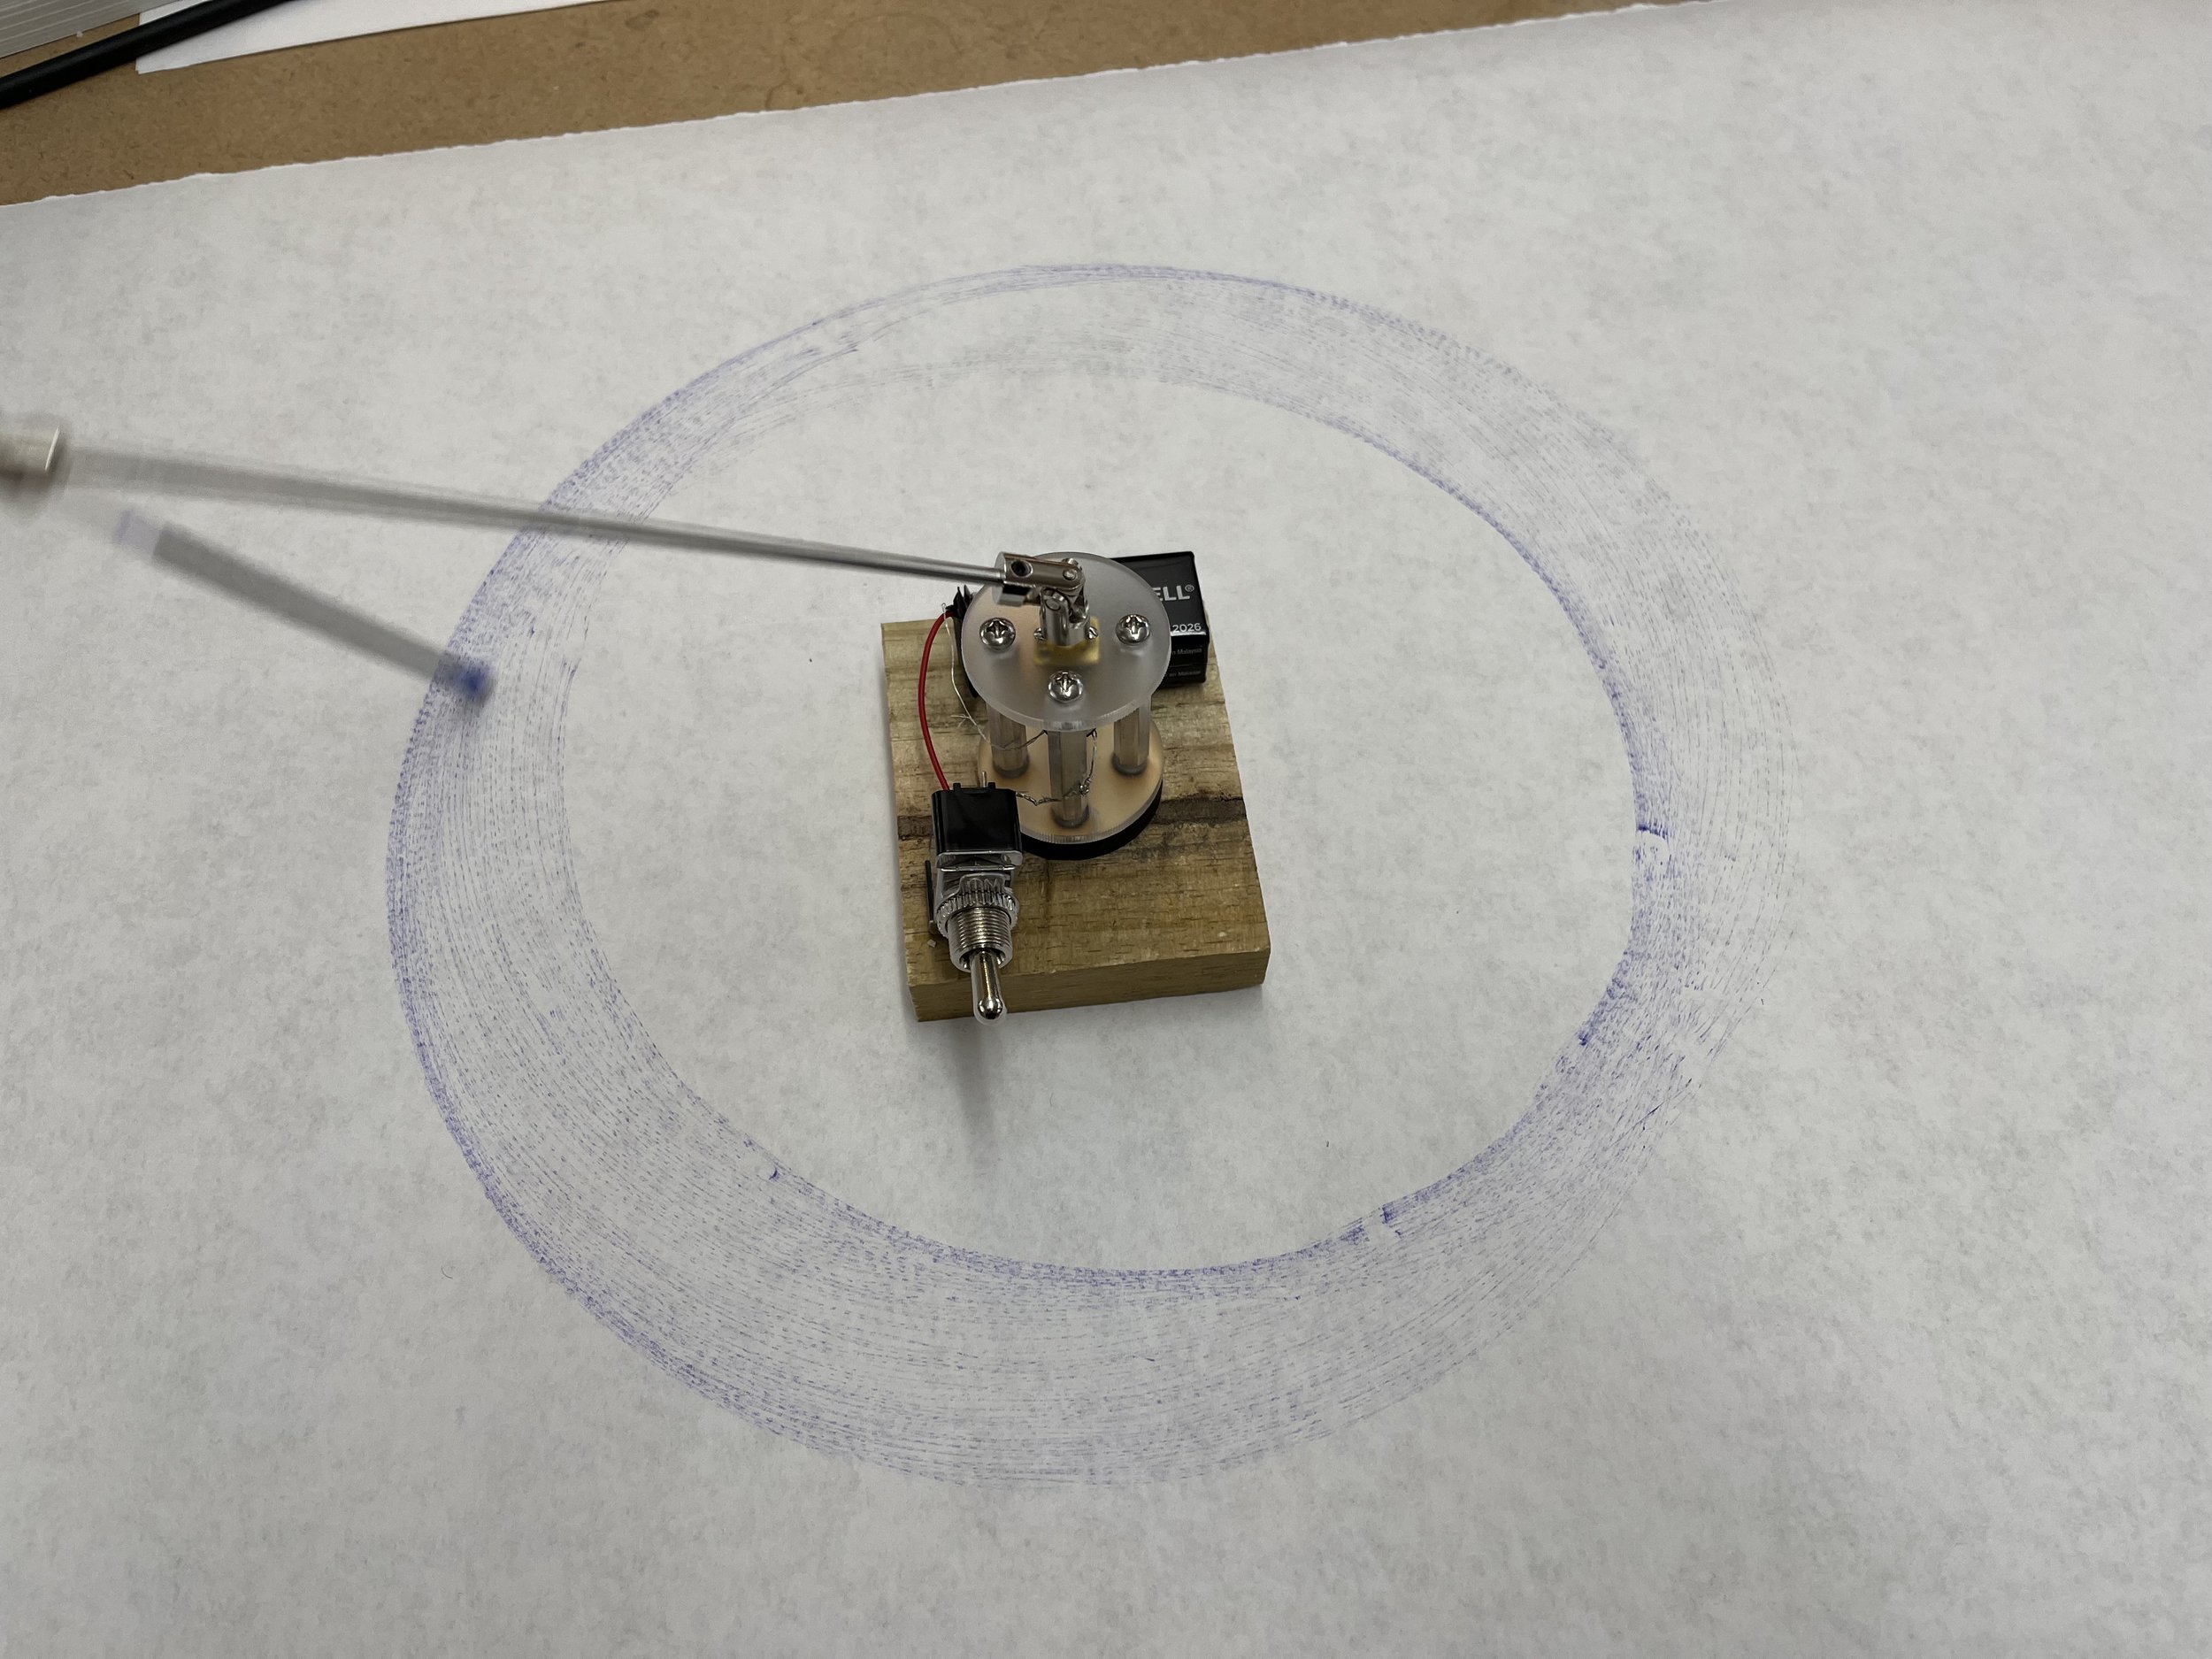
I came up with a new idea: creating a machine that draws circles. Given the tiny motor, long rods, and rotatable shaft couplers, visualizing its rotation by drawing seemed like an interesting alternative. Using standoffs, I transformed the motor into a base, employing a method from a previous week. Luckily, I found 1.3mm screws at a local hardware store to secure the motor on a piece of acrylic, connected to another piece by the standoffs. Once the base was established, the remaining steps were less challenging. The connections between the motor, shaft coupler, and rods were tight and tidy. I had to solder one joint for added rigidity to ensure smooth rotation of the pen. The overall process was more challenging than anticipated, but I successfully made it work in the end, resulting in some happy accidents, as shown in the videos.
figure 1 - items are all not as expected
figure 2 - laser cut the base
figure 3 - 1.3mm screws
figure 4 - 1.3mm screws
figure 5 - standoffs are on
figure 6 - its really small
figure 7 - shaft coupler and rod are on
figure 8 - screwed into a base, and switched is added
figure 9 - worked after a lot of failures
figure 10 - happy accident due to friction
video 2 - more circles
video 1 - drawing circles
video 3 - time lapse I
video 4 - time lapse II
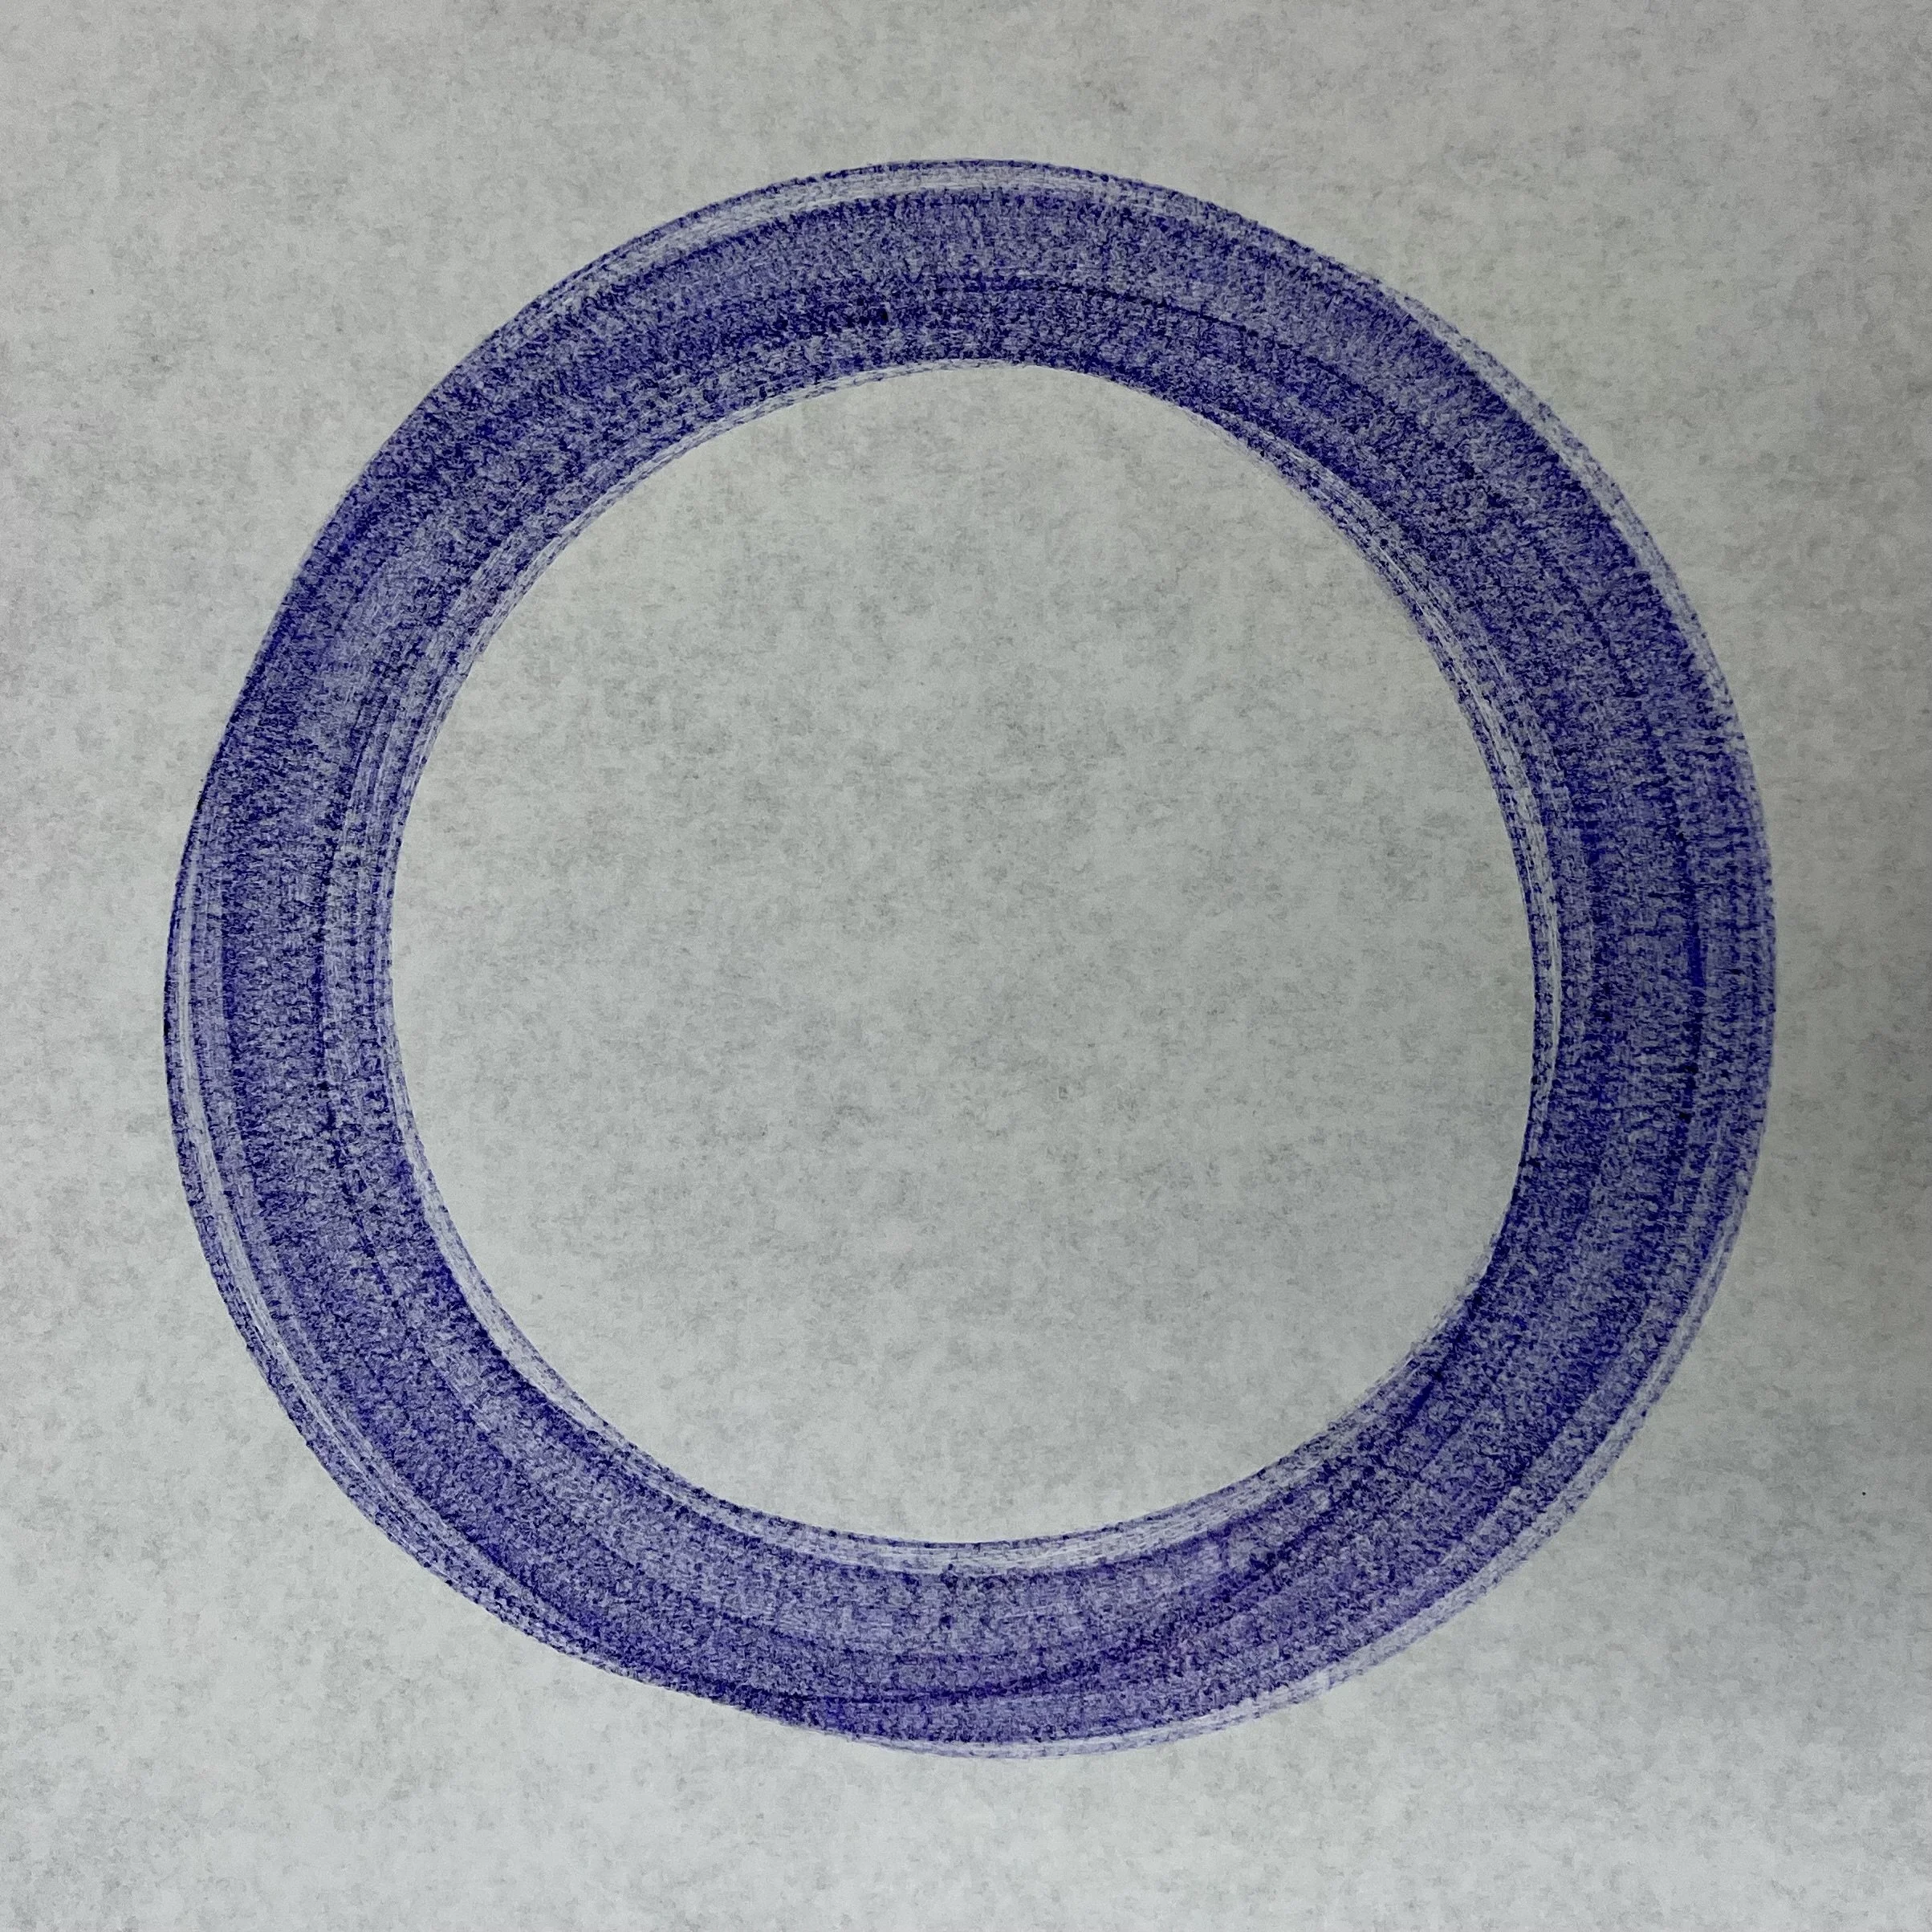
drawing I
drawing II
drawing III
a 60-minute time-lapse video
Personally, I found this project extremely enjoyable, and I learned a lot, despite having fabrication experience from architecture school. It's a delightful way to conclude the course with the creation of circles, which is a truly memorable outcome.


